To post photos on Instagram, follow this sequence: Create → Post → select photos → check cropping and order → write a caption → Share. The basic flow is similar for a single photo and a carousel, but the menus and editing options can differ between mobile and desktop.
This guide is for solo business owners and creators who publish their own product photos or explanatory slides. It covers your first upload, image sizes, posting from a computer, edits after publication, and the extra work that comes with managing several social channels.
Checked on September 9, 2026. Mobile instructions follow Instagram’s official Android help; desktop screenshots were captured in ANKK’s English-language Instagram account. Button locations and available features may vary by app version, account, and device.
1. Post a photo from your phone
For a single photo, work through these steps:
- Check the account first. If you switch between personal and brand accounts, confirm the username on your current profile.
- Tap Create (+) and choose Post, not Reel or Story.
- Select the photo from your phone’s library.
- Adjust the crop and tap Next. Check that faces, products, and text inside the image remain visible.
- Finish any edits, then continue to the caption screen. Add a location or tag people when relevant.
- Review the account, photo, and caption, then tap Share.
- Open the new post from your profile and check the photo and caption as published.
The important distinction is choosing a photo feed post, rather than memorizing where a button sits. For video-led content, see the Instagram Reels upload checklist. Instagram’s photo-posting instructions
2. Put multiple photos in one Instagram post
A post with photos you can swipe through is called a carousel. Use it to combine a product overview, close-up details, and an in-use photo, or to present an explanation across several slides.
- Start a new post and choose Select multiple.
- Select the photos you want to include.
- Swipe through every image to check the crop.
- Adjust the order in the editor, such as by pressing and holding a photo and dragging it into position.
- Add the caption and any relevant details. Review the entire sequence before sharing.
Instagram’s current help says a carousel can contain up to 20 photos and videos. Check the selection limit and editing options shown in your own interface. This does not mean an external scheduling tool supports the same number.
The official guide also says the orientation you choose applies to all photos and videos in the post. When mixing portrait and landscape images, check each slide’s crop, not just the first one. Preparing the files at a consistent aspect ratio can make this review easier. Instagram’s carousel instructions
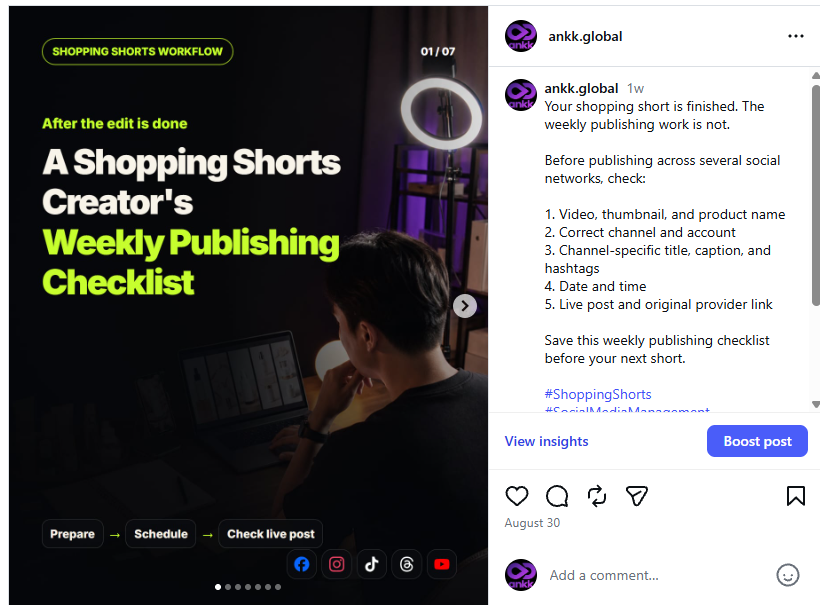
A real, previously published carousel from ANKK’s English account. The arrow and dots show that it contains multiple slides. We did not publish a new post to create this example. View the original carousel
Choose a sequence that answers the next question
For a product post, try overall view → key details → product in use → information needed to decide. This is an editorial suggestion, not an Instagram rule.
Let the first slide introduce the subject and the following slides answer the questions it raises. Instead of adding similar photos to reach a target slide count, give each image a distinct job.
3. Instagram photo sizes: 1:1, 4:5, and 3:4
Dimensions are the number of pixels; aspect ratio is the relationship between width and height. An image measuring 1080 × 1350 pixels has a 4:5 ratio. An image measuring 1080 × 1440 has a 3:4 ratio.
Instagram’s current photo-resolution guidance covers aspect ratios from 1.91:1 to 3:4, with photos shared at a width of up to 1080 pixels. Saying that portrait photos are limited to 4:5 therefore misses the current guidance. Instagram’s image-resolution help
| Shape | Aspect ratio | Example at 1080 px wide | When it may fit |
|---|---|---|---|
| Square | 1:1 | 1080 × 1080 | A centered subject or short message |
| Portrait card | 4:5 | 1080 × 1350 | A photo with a vertically arranged explanation |
| Taller portrait | 3:4 | 1080 × 1440 | Keeping the composition of a 3:4 original |
| Landscape | About 1.91:1 | 1080 × 566 | A wide scene or landscape |
These are production examples, not promises of better views or reach. If you publish through another tool, check that tool’s supported specifications separately.
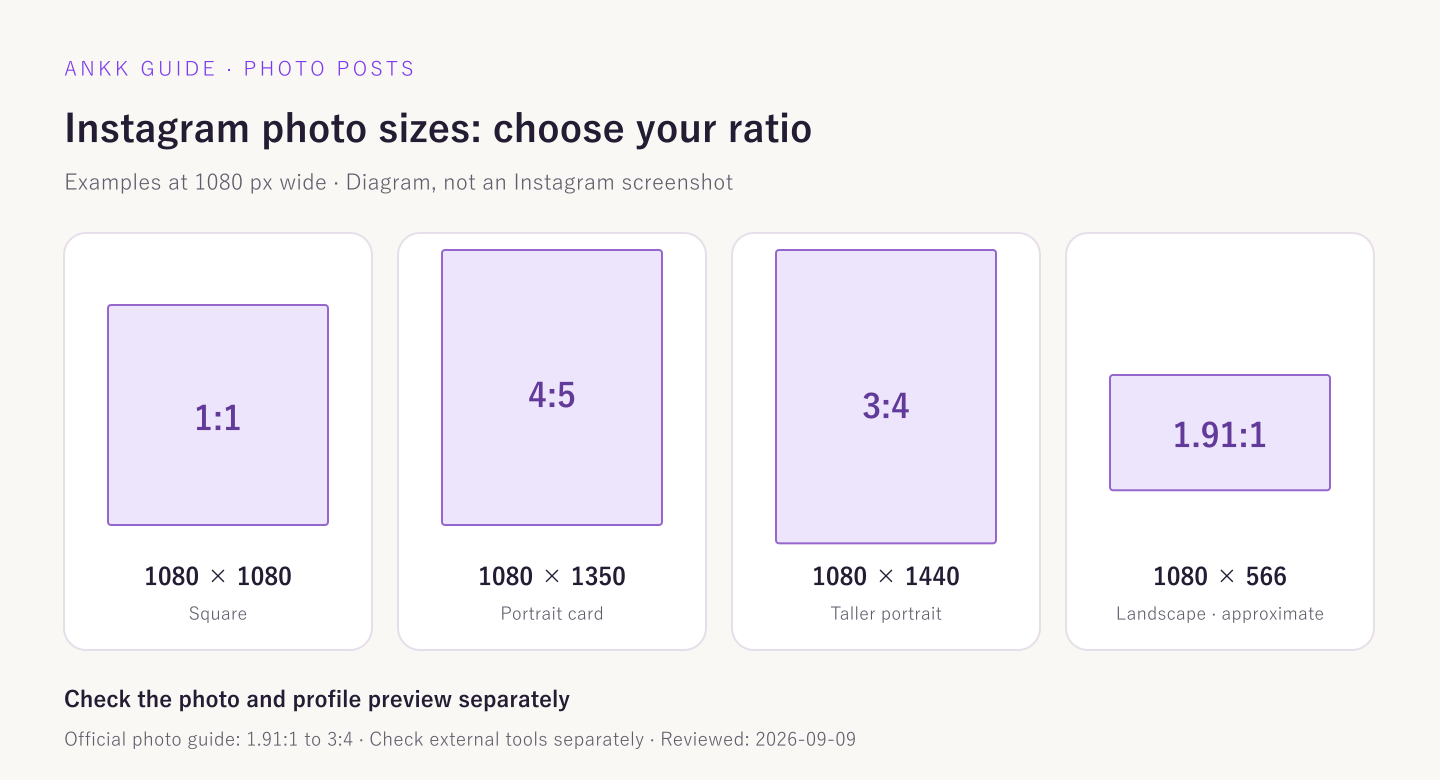
An explanatory diagram based on Instagram’s photo specifications. It is not an app screenshot or a before-and-after upload quality test.
If a photo looks cropped, check three places
- Original file: Is the product or text already too close to the edge?
- Upload editor: Does the selected ratio, zoom, or positioning cut off important details?
- Profile preview: Does the small thumbnail show a different area from the opened post?
A cropped profile thumbnail does not, by itself, mean the same content is missing from the post. Open the post to check. Leave room around essential text and logos instead of assuming one fixed safe area will work in every view.
4. Post on Instagram from a computer
You can upload images made on your computer through Instagram’s website, without first transferring them to a phone.
- Sign in to Instagram and confirm the target account’s username.
- Choose Create → Post from the left menu.
- Click Select from computer, or drag files into the upload area.
- Adjust the crop and choose Next.
- Review filters and adjustments, then continue to enter the caption.
- Check any relevant options shown, such as location, people tags, and alt text.
- Click Share, then open the actual post.
Instagram’s desktop photo guide lists JPG, PNG, and HEIC/HEIF. If the same files will also go through another publishing tool, check which formats that tool accepts. Instagram’s desktop posting instructions
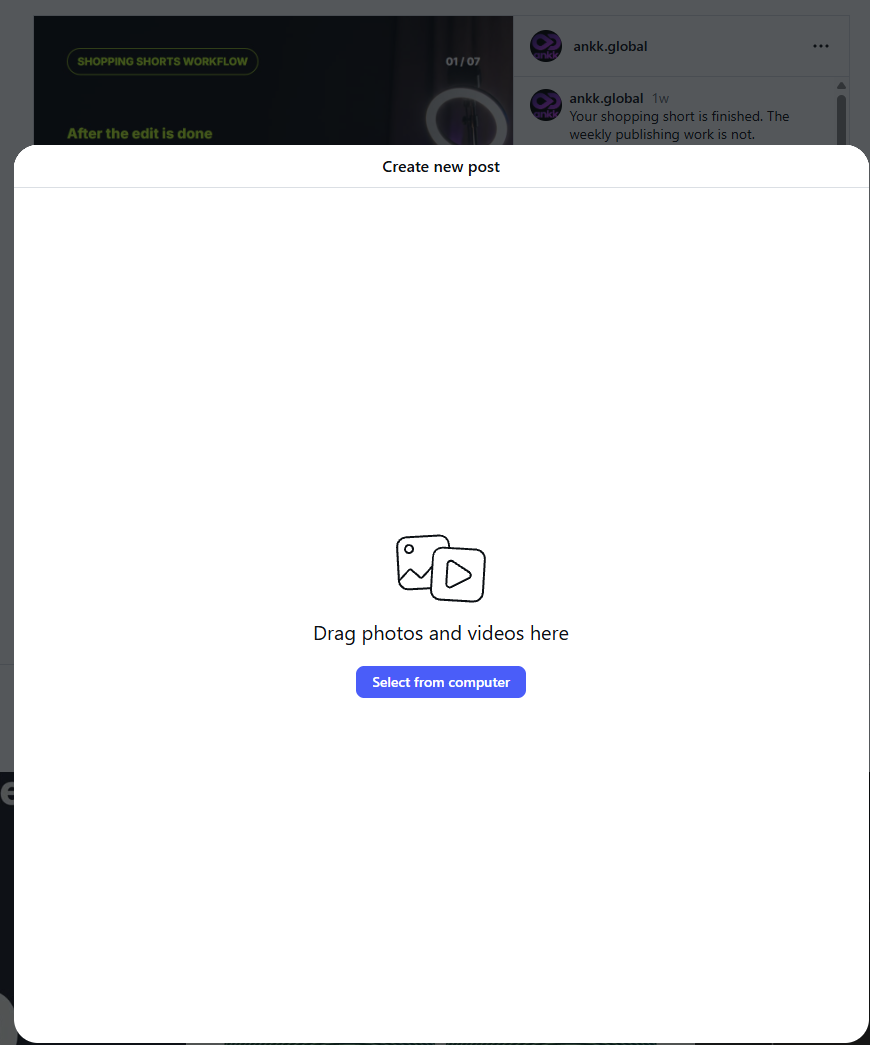
The real desktop upload starting screen in ANKK’s English Instagram account. No files were uploaded and Share was not clicked for this capture.
For multiple photos, use the editor’s option to add more items, then check thumbnail order and every crop. Do not assume all mobile editing features, including music or individual captions, are also available on desktop. Check the device-specific official instructions for any option you need.
5. A 30-second checklist before sharing
| Check | Ready when… |
|---|---|
| Account | The username belongs to the brand receiving this post |
| Format | You selected Post for a photo feed post or carousel |
| Photos | These are the final files, with no missing or duplicate slides |
| Order | The sequence makes sense from the first slide to the last |
| Crop | Products, faces, and text remain visible where needed |
| Caption | There are no internal notes, incorrect details, or wrong account tags |
| Timing | You know whether this is being shared now or scheduled |
After sharing, open the published post and check its photo count, order, and caption again. Submitting an upload and having a live post are different steps.
6. Can you edit a post or add photos after publishing?
First, identify what you want to change. Instagram’s current carousel help describes editing the caption, tags, and location, reordering content, and deleting some photos or videos after publication. It says you cannot add new photos or videos to an existing carousel. Changes after publishing
Open the post’s options menu and check the editing controls available to your account. If you cannot find a reorder option, check the app version and device-specific guidance before deleting the post. We did not edit or delete existing public posts to test this guide.
What if you shared a post but cannot see it?
Start by checking whether the account used to share it matches the profile you are viewing. Look for an upload-in-progress or failure message, and check whether you chose a different format instead of a feed post.
Repeatedly submitting the same files while the result is unclear can create duplicates. Check the profile and the post before deciding what to do next. A missing post alone is not enough evidence of an account restriction or reduced distribution.
7. Separate content preparation from publishing operations
Instagram’s own app or website is a reasonable starting point for posting one photo. But when you manage Instagram alongside other social networks, entering the same files, captions, and schedules separately becomes recurring work.
Separate preparing the photos and caption from managing which account publishes them and when.
ANKK is a social media management tool for planning, scheduling, and publishing prepared content across multiple networks from one place, without registering each post separately on every channel. Adapt the copy and timing for each channel, then check the final status and actual published post.
Connecting Instagram requires a Business or Creator account. If you have not chosen one yet, start with the Instagram professional account guide.
Instagram’s native features and ANKK’s support limits are not interchangeable. ANKK’s current guidance supports Instagram carousels with 2–10 media items. Do not apply Instagram’s native limit of 20 to ANKK. Music, product tags, and device-specific editing features should not be assumed to work the same way in an external tool. ANKK’s Instagram support guide
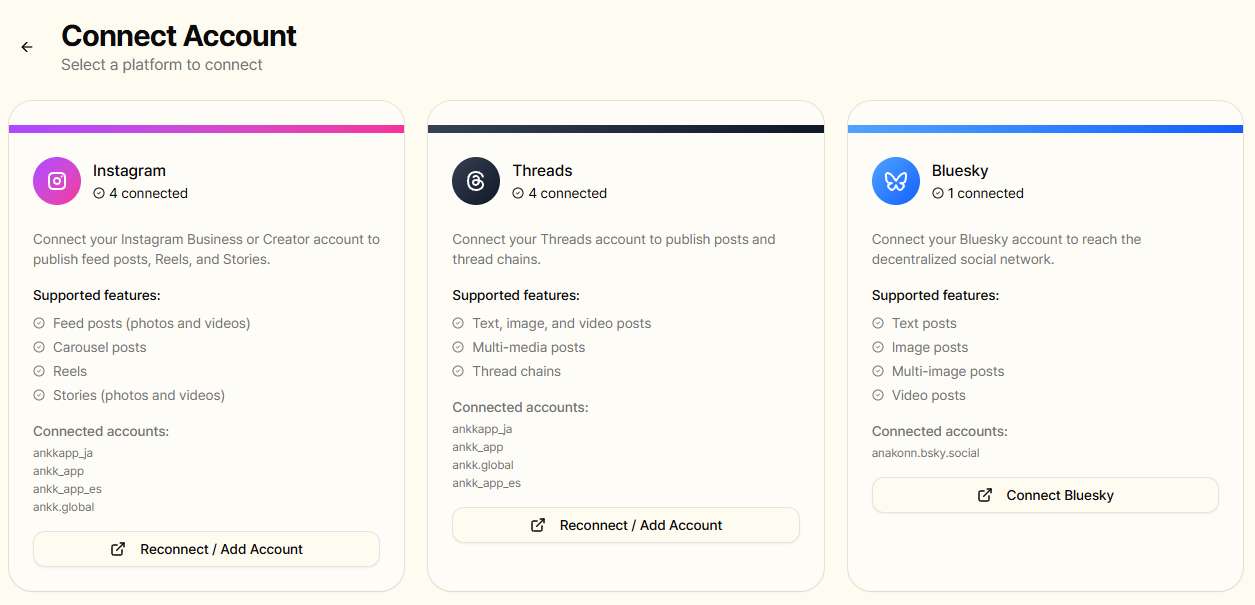
The account-connection screen in ANKK’s own workspace. It shows carousel support and our operating accounts, not a newly completed connection or publication.
Once your next photos and caption are ready, decide which channels you will use and when each post should go live.
Connect your channels and prepare your next post with ANKK
This is an independent guide by ANKK, not an endorsement or official partnership with Instagram or Meta. The cover illustration and aspect-ratio diagram are identified separately from real app screenshots.